In the retro community there are a lot of different modern hardware these days, not always do they come in nice boxes.
The PCB’s can easily scratch the surface of the table, and aren’t protected against transportation etc.
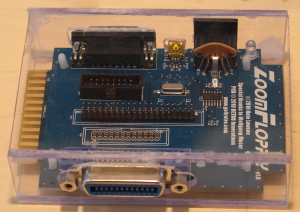
Last year I made a box for my ZoomFloppy and while it was my first box, and I wasn’t all that careful trying to get it to look nice, the box is still intact.
Last night I talked to a fellow DYI guy with plenty of ideas. He got hooked by the idea of using acrylic plastic to makea box for some electronic boards. He probably have better skills, tools and whatnot than I doing this kind of things.
I’ve used Acetone to “glue” the sides together. I can say, if acetone comes onto places where it shouldn’t, let it evaporize. If you try and wipe it off it’ll smear. The acetone seems to dissolve the acrylic glass.
Here is an other example of creating a box, this doesn’t involve gluing, just acrillic spacers. This box was made by Henrik Christensen from Facebook, and used with permission here.

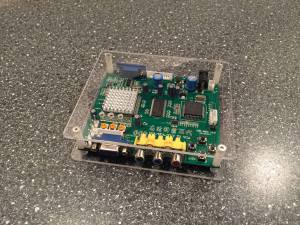

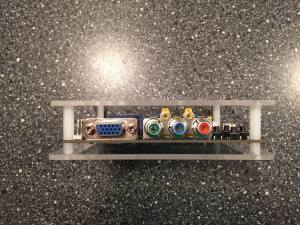 I must confess Henrik is more skilled than I 🙂 it looks great doesn’t it?

Like the idea of using Plexiglas for cases but i would mount them with screws instead of glueing them together so you can access the inside more easily if you need to alter something. So i would make some holes on the edges and use screws and metal stand offs. So you have easy access and if needed some bottom space for better airflow. Just my idea 🙂
I agree that using screws -perferably nylon- and nylon sticks as a spacer would be a better option. Though I didn’t (and still don’t) have any nylonspacers thick enough to withstand the “abuse” I put on this, putting it in a back-pack would break or atleast damage it with thin spacers.
Why nylon? I think metal would do the same job or what do you have in mind?
Well metal spacers can do too. I haven’t searched for them tbh. 🙂